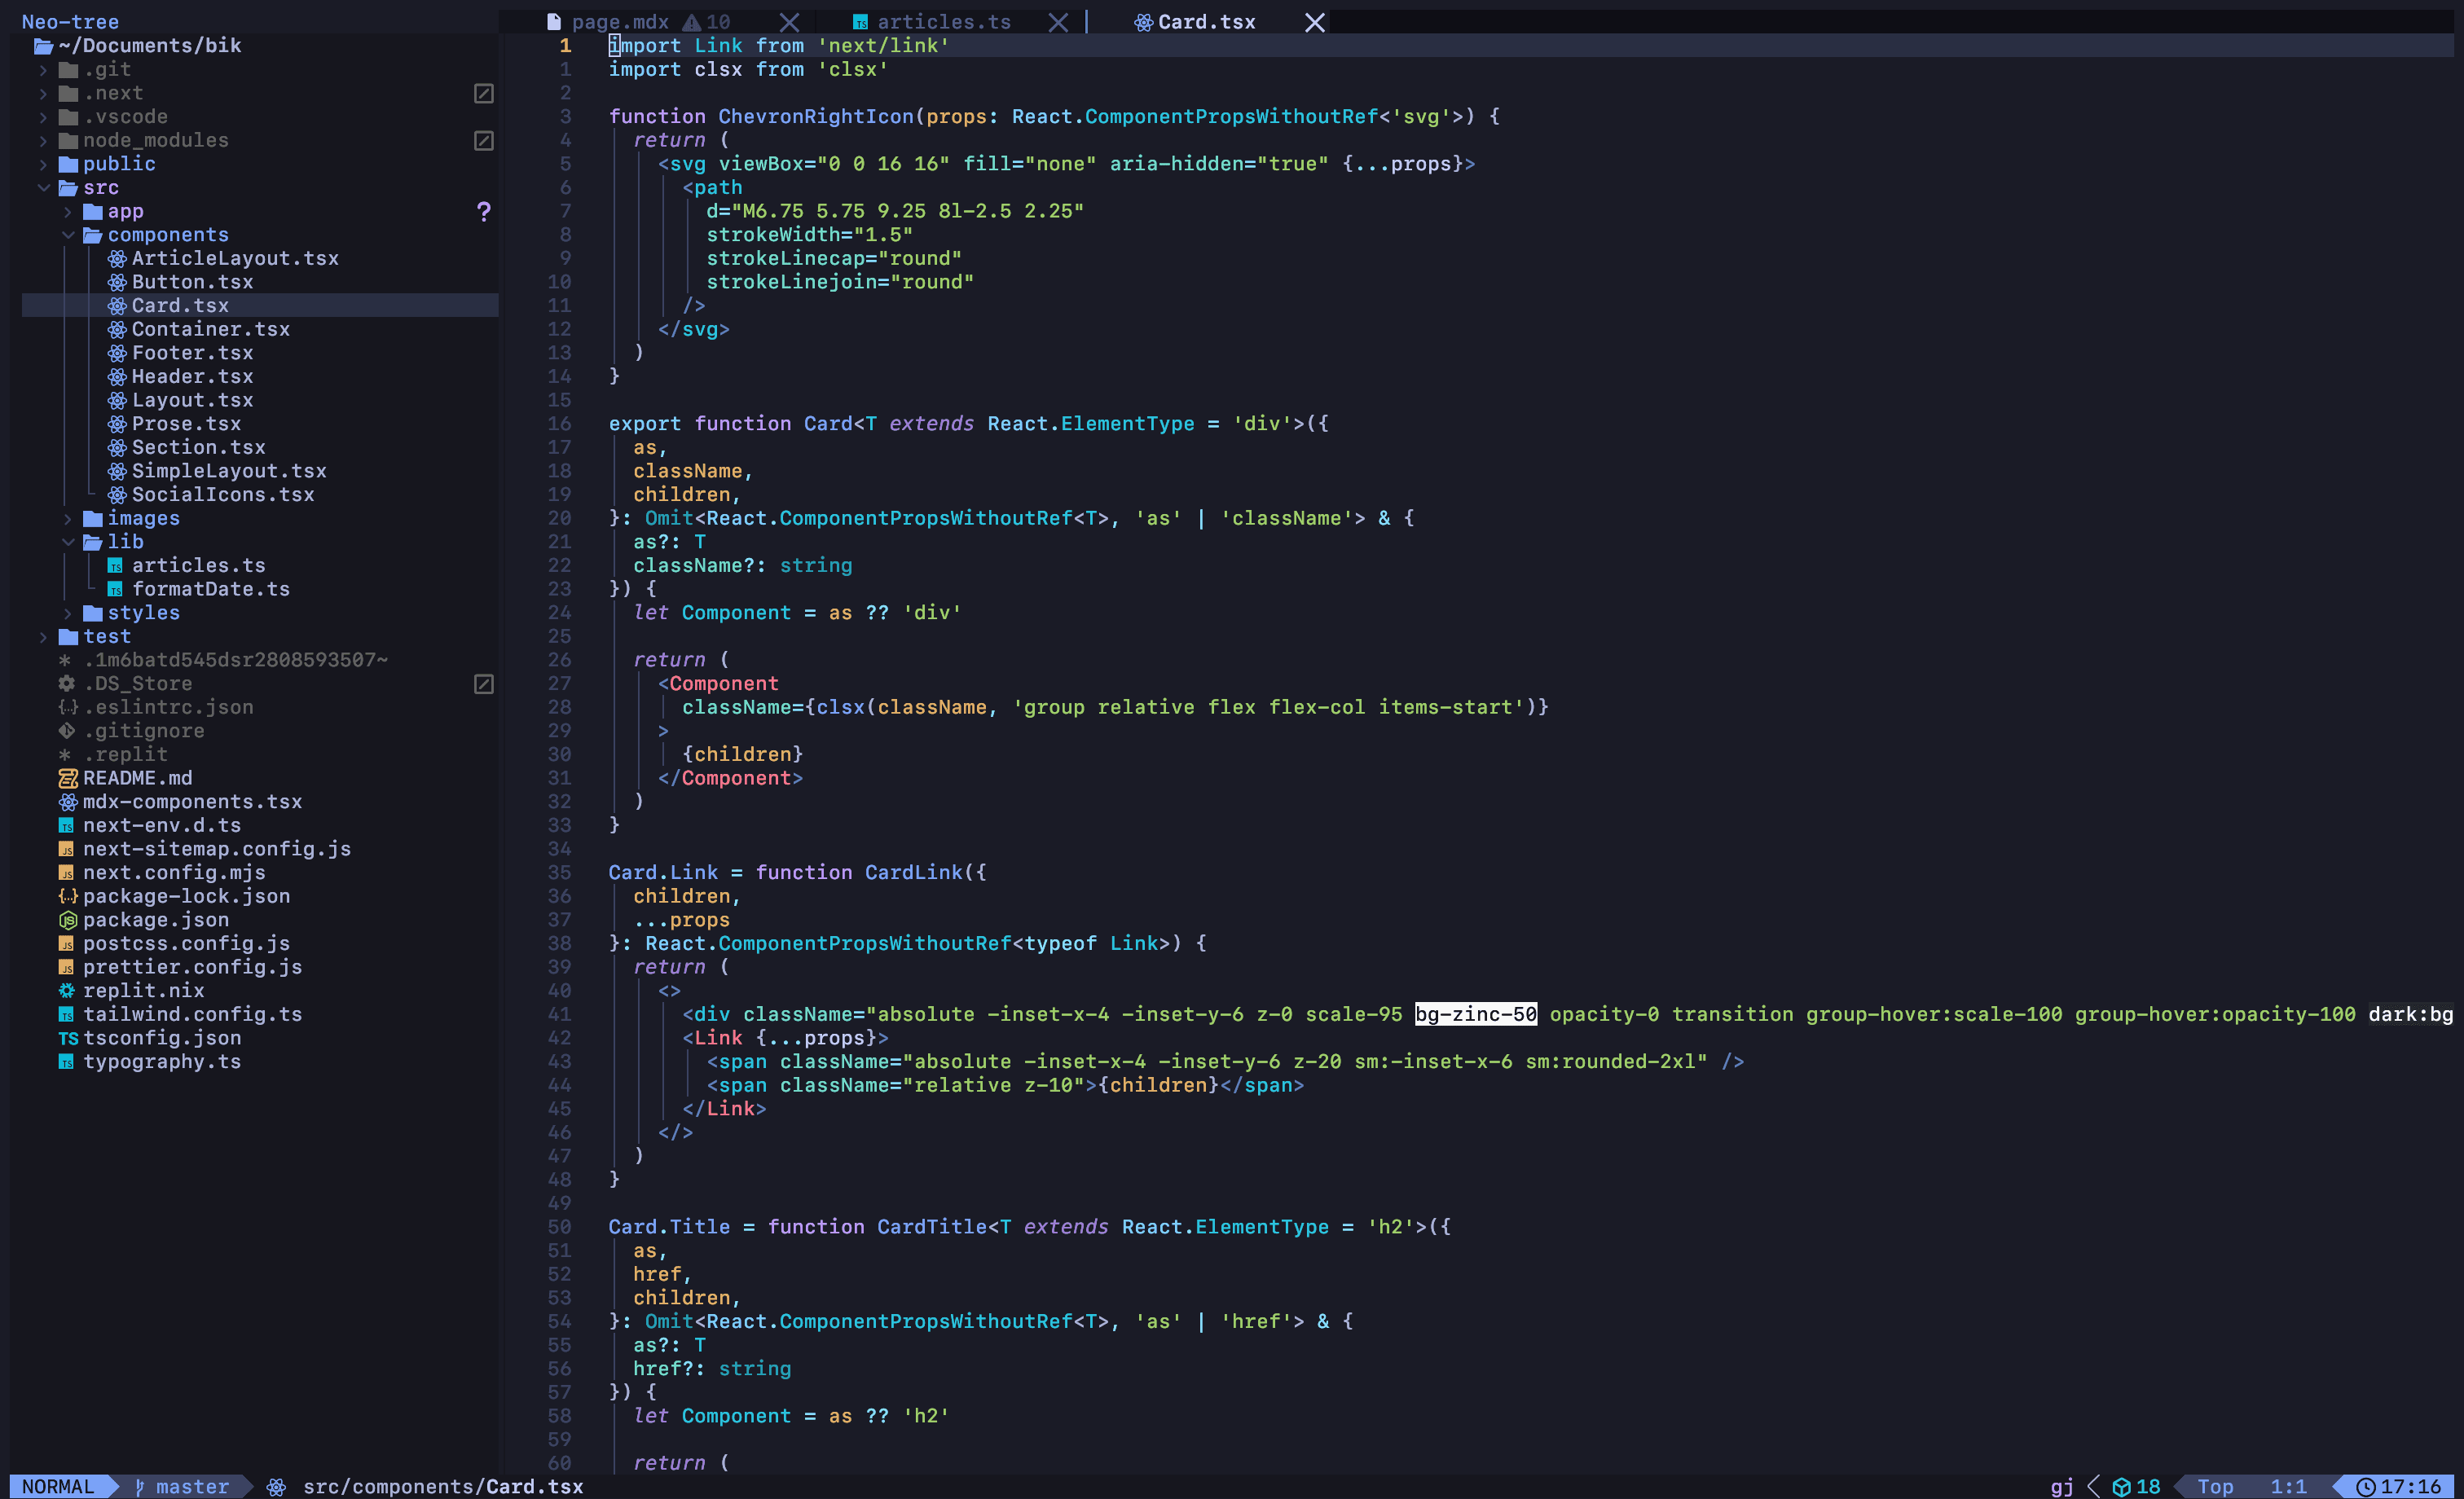
How I went from VSCode to Neovim as my daily driver
Ever since I started coding, Visual Studio Code was my go-to editor. It’s an amazing tool - packed with features right out of the box, a vibrant extension ecosystem, and a slick UI. But as I dove deeper into mouse-free workflows, I found myself wanting something even lighter and more customizable.
Enter Neovim. After plenty of tinkering and experimenting, I finally landed on a setup that felt just right. Neovim builds on Vim’s legendary efficiency, making it a powerhouse for streamlined development workflows.

Should you even bother switching?
There are a few reasons to switch from your current editor and a few reasons you shouldn't.
VSCode and similar editors are real powerful, but like any tool, they’re not without their quirks. Here’s why you might consider making the switch:
- Performance Woes: Even on a beast of a machine, VSCode’s Electron-based architecture can struggle, especially when working with large projects. I’ve really felt the pain in my company’s massive monorepo, where the Typescript Language Server crawls 🐌
- Keyboard-First Workflow: I’ve always enjoyed navigating my windows via the keyboard (even on a Mac), and Neovim’s keyboard workflow will actually increase the speed of navigating codebases much, much faster the better you get at Vim.
- It's Fun: Call me a nerd, but there’s something genuinely enjoyable about learning and using keybinds. It’s like leveling up in a video game. 🤓
- You'll Look Cool 😎: You might think I'm joking here but whipping through code using just your keyboard? Instant coworker cred. Clout levels = guaranteed to rise.
Some reasons you shouldn't switch are:
- Steep Learning Curve: Neovim’s interface is minimal by design, and learning all the keybinds can be intimidating for newcomers. 📈
- Lack of Out-of-the-Box Features: Unlike VSCode, which feels like it’s ready to go straight out of the box, Neovim starts as a blank slate. Getting it up to speed with plugins and custom configs can be a rabbit hole of its own. Also, if your company requires some custom or niche extensions or tools, it's possible that may not be available on the Neovim ecosystem (but all the most common ones are!).
- Fewer Visual Tools: If you live for features like visual debugging tools, Neovim might feel... sparse, at least at first. You'll really need to install and configure to get things perfect.
Step 1: Use the Vim extension on VSCode
If you’re already comfortable with Vim and know your way around the keybinds, feel free to skip this step.
Vim keybinds let you navigate a document entirely with your keyboard - no mouse required. Now, you might be thinking, “Why tf would I want to do that?”. Fair question lol. At first, it might seem pointless (or even annoying) when making the switch. But once you get the hang of it, the productivity boost is unreal.
If you’re completely new to Vim, don’t worry—here are some great resources to get you started:
Keybind Reference
Primeagen Youtube Playlist
Primeagen is a huge Vim fanatic and his videos may further sway you into using Neovim. His Youtube playlist above, a Vim binding cheatsheet of choice, and some practice time is all you need to get started.
One of the best ways to delve into the world of Vim is to use the Vim extension on VSCode itself. This extension emulates Vim's keyboard-driven editing capabilities within Visual Studio and allows you to try out this new way of thinking with the safety net of your mouse. You also keep all your extensions, setups for code formatter, default language servers, editor theme, and can learn at your own pace. This is a great way to learn Vim while bypassing that initial productivity dip, especially if you have strict company deadlines to keep 😰.
💡 Tip - keep a floating note of common keybinds you often forget. You can also use the Vimbro extension on Raycast for help. This is what really helped me learn until it all became second nature.
This is also where many of you may end your journey and that's totally ok! Honestly, I thought it would be the end of mine too (I stuck with this setup for nearly a year). You'll still reap many of the benefits. But if you’re ready to take things to the next level, let’s dive into the really cool stuff.
Step 2: Learn the basics of Neovim and Lua
Before diving into customization, let’s cover more essentials.
What is Neovim?
Neovim is essentially just the modern version of Vim. Think of it as Vim’s cooler, more flexible sibling 😎 - it keeps the core philosophy of Vim but adds modern features like an amazing plugin ecosystem, embedded Lua configs, and improved extensibility.
What is Lua?
Lua is a lightweight, beginner-friendly scripting language that Neovim uses for its configuration and plugins. If you’re coming from a JavaScript or Python background, Lua will feel familiar but even simpler. You don't really need to go too in-depth here (yet) just know that Lua is the language you'll be playing around with when customizing.
Step 3: LazyVim
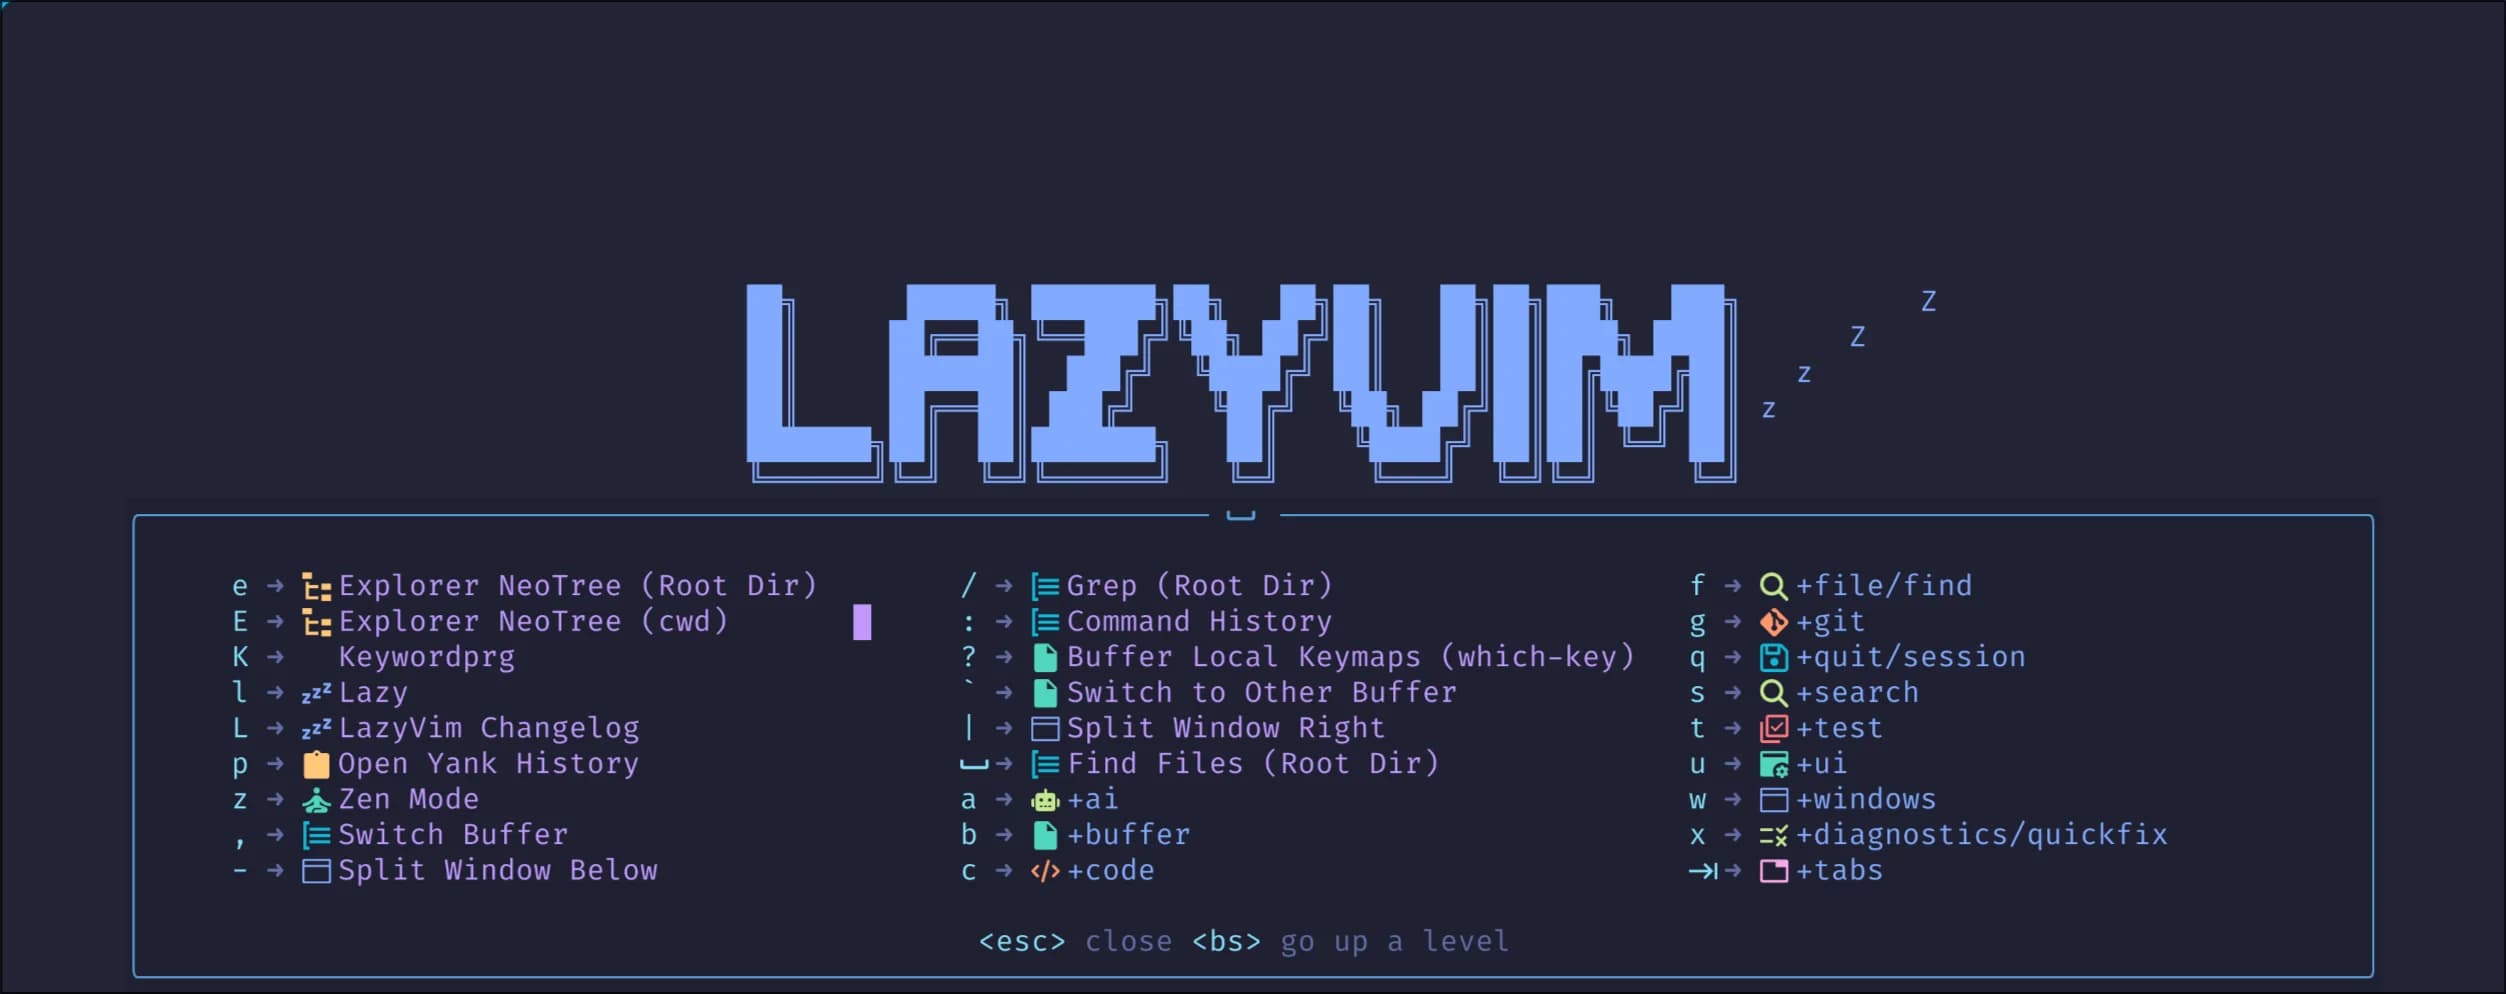
Once you’ve learned the basics of Neovim and Lua, it’s time to supercharge your setup with LazyVim - a pre-configured Neovim setup that makes getting started with modern plugins and configurations a breeze.

LazyVim is a starter template for Neovim that’s built by the developer named Folke. It leverages the lazy.nvim plugin manager (hence the name) and comes packed with a curated set of plugins, pre-configured to work seamlessly together. Think of it as a fast pass to a polished, powerful Neovim experience without having to configure everything from scratch.
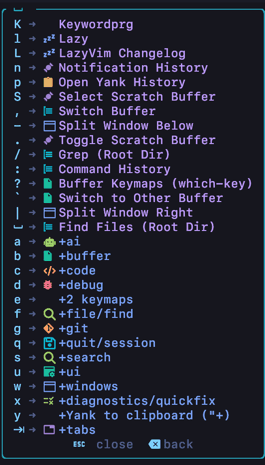
💡 Tip - There are a lot of keyboard motions and shortcuts pre-baked into LazyVim. However, unlike using Vim on VSCode, you don't need to memorize them at all! which-key.nvim gives you a little popup cheatsheet after you press the <leader> (AKA <space>) key so you don't have to keep everything in your brain.

LazyVim is perfect if you want:
- A Head Start: Skip the initial setup grind and get straight into coding with features like treesitter for advanced syntax highlighting, LSP for rich language support, and telescope for fuzzy finding.
- Flexibility: While it works beautifully out of the box, it’s also highly customizable - so you can easily tailor it to fit your exact workflow.
- Consistency: A config designed to just work, without the headaches of plugin conflicts or misconfigurations.
If LazyVim doesn’t quite fit your style, there are other excellent pre-configured Neovim setups to explore:
-
LunarVim
A community-driven distro focused on being beginner-friendly. -
AstroVim
Aesthetic and feature-rich, similar to LazyVim. -
NvChad
Lightweight and modular, great if you like a more minimal base. -
Kickstart.nvim
A barebones starting point that gives you more freedom to build your own setup.
Here's a great video with a walkthrough of LazyVim to get started.
Step 4: Customization
By now, you’ve got LazyVim up and running, and it’s likely already boosting your productivity. But the real beauty of Neovim lies in its limitless customization. Whether you’re looking to add new plugins or tweak the default setup, LazyVim makes it easy to build a configuration that’s uniquely yours.
Start with LazyExtras
LazyVim comes with LazyExtras, a collection of optional plugins that extend its core functionality. These plugins aren’t enabled by default, but you can activate them real easily. For example, you might add support for:
- AI Coding Tools: Github Copilot, Tabnine, Supermaven, etc. are all available for Neovim using LazyExtras 🤖
- Language Servers: Support for different languages (ie Javascript/Typescript, Go, Java, etc)
- Advanced Debugging Tools: Take debugging to the next level with plugins like
dap.nvim - Further UI Enhancements: Upgrade your new IDE's look and feel even further 🎨
To enable a LazyExtras plugin, all you need to do is toggle it and restart Nvim. LazyVim’s documentation has more info here.
Adding Plugins Manually
If a plugin you want isn’t available in LazyExtras, don’t worry - you can add it manually. Lazy.nvim, the plugin manager behind LazyVim, makes this process straightforward:
- Find the Plugin: Browse Awesome Neovim for inspiration or search GitHub for specific plugins.
- Add the Plugin: Update your LazyVim configuration to include the plugin in the
pluginstable. For example:
return {
  -- adding symbols-outline plugin
  {
    "simrat39/symbols-outline.nvim",
    cmd = "SymbolsOutline",
    keys = { { "<leader>cs", "<cmd>SymbolsOutline<cr>", desc = "Symbols Outline" } },
    opts = {
      position = "right",
    },
  },
}
- Reload and Install: Restart Neovim and things will automagically install.
Tweaking LazyVim Defaults
Don’t forget that LazyVim’s preloaded plugins can also be customized:
- Keybindings: Override or add your own shortcuts for faster navigation. ⌨️
- Themes: Swap out the default theme for one that better suits your style.
- Plugin Configs: Dive into LazyVim’s plugin settings and tweak them to fit your workflow.
💡 Tip - If using the Kitty terminal, popular Neovim themes have matching Kitty themes so your entire workflow can match your aesthetic. 🐈⬛
The Endless Journey
Customizing Neovim is a deep rabbit hole - but it’s a rewarding one. Each tweak makes your editor feel more like an extension of you, and with LazyVim as your foundation, the possibilities are endless. You can also just start completely from scratch if the default setups aren't good enough for ya, the choice is yours! Happy Hacking 👩💻