
Making Your Terminal as Beautiful as You
In this tutorial, I’ll teach you how to customize your Mac terminal to go from this:
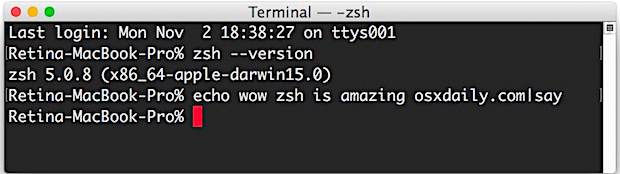
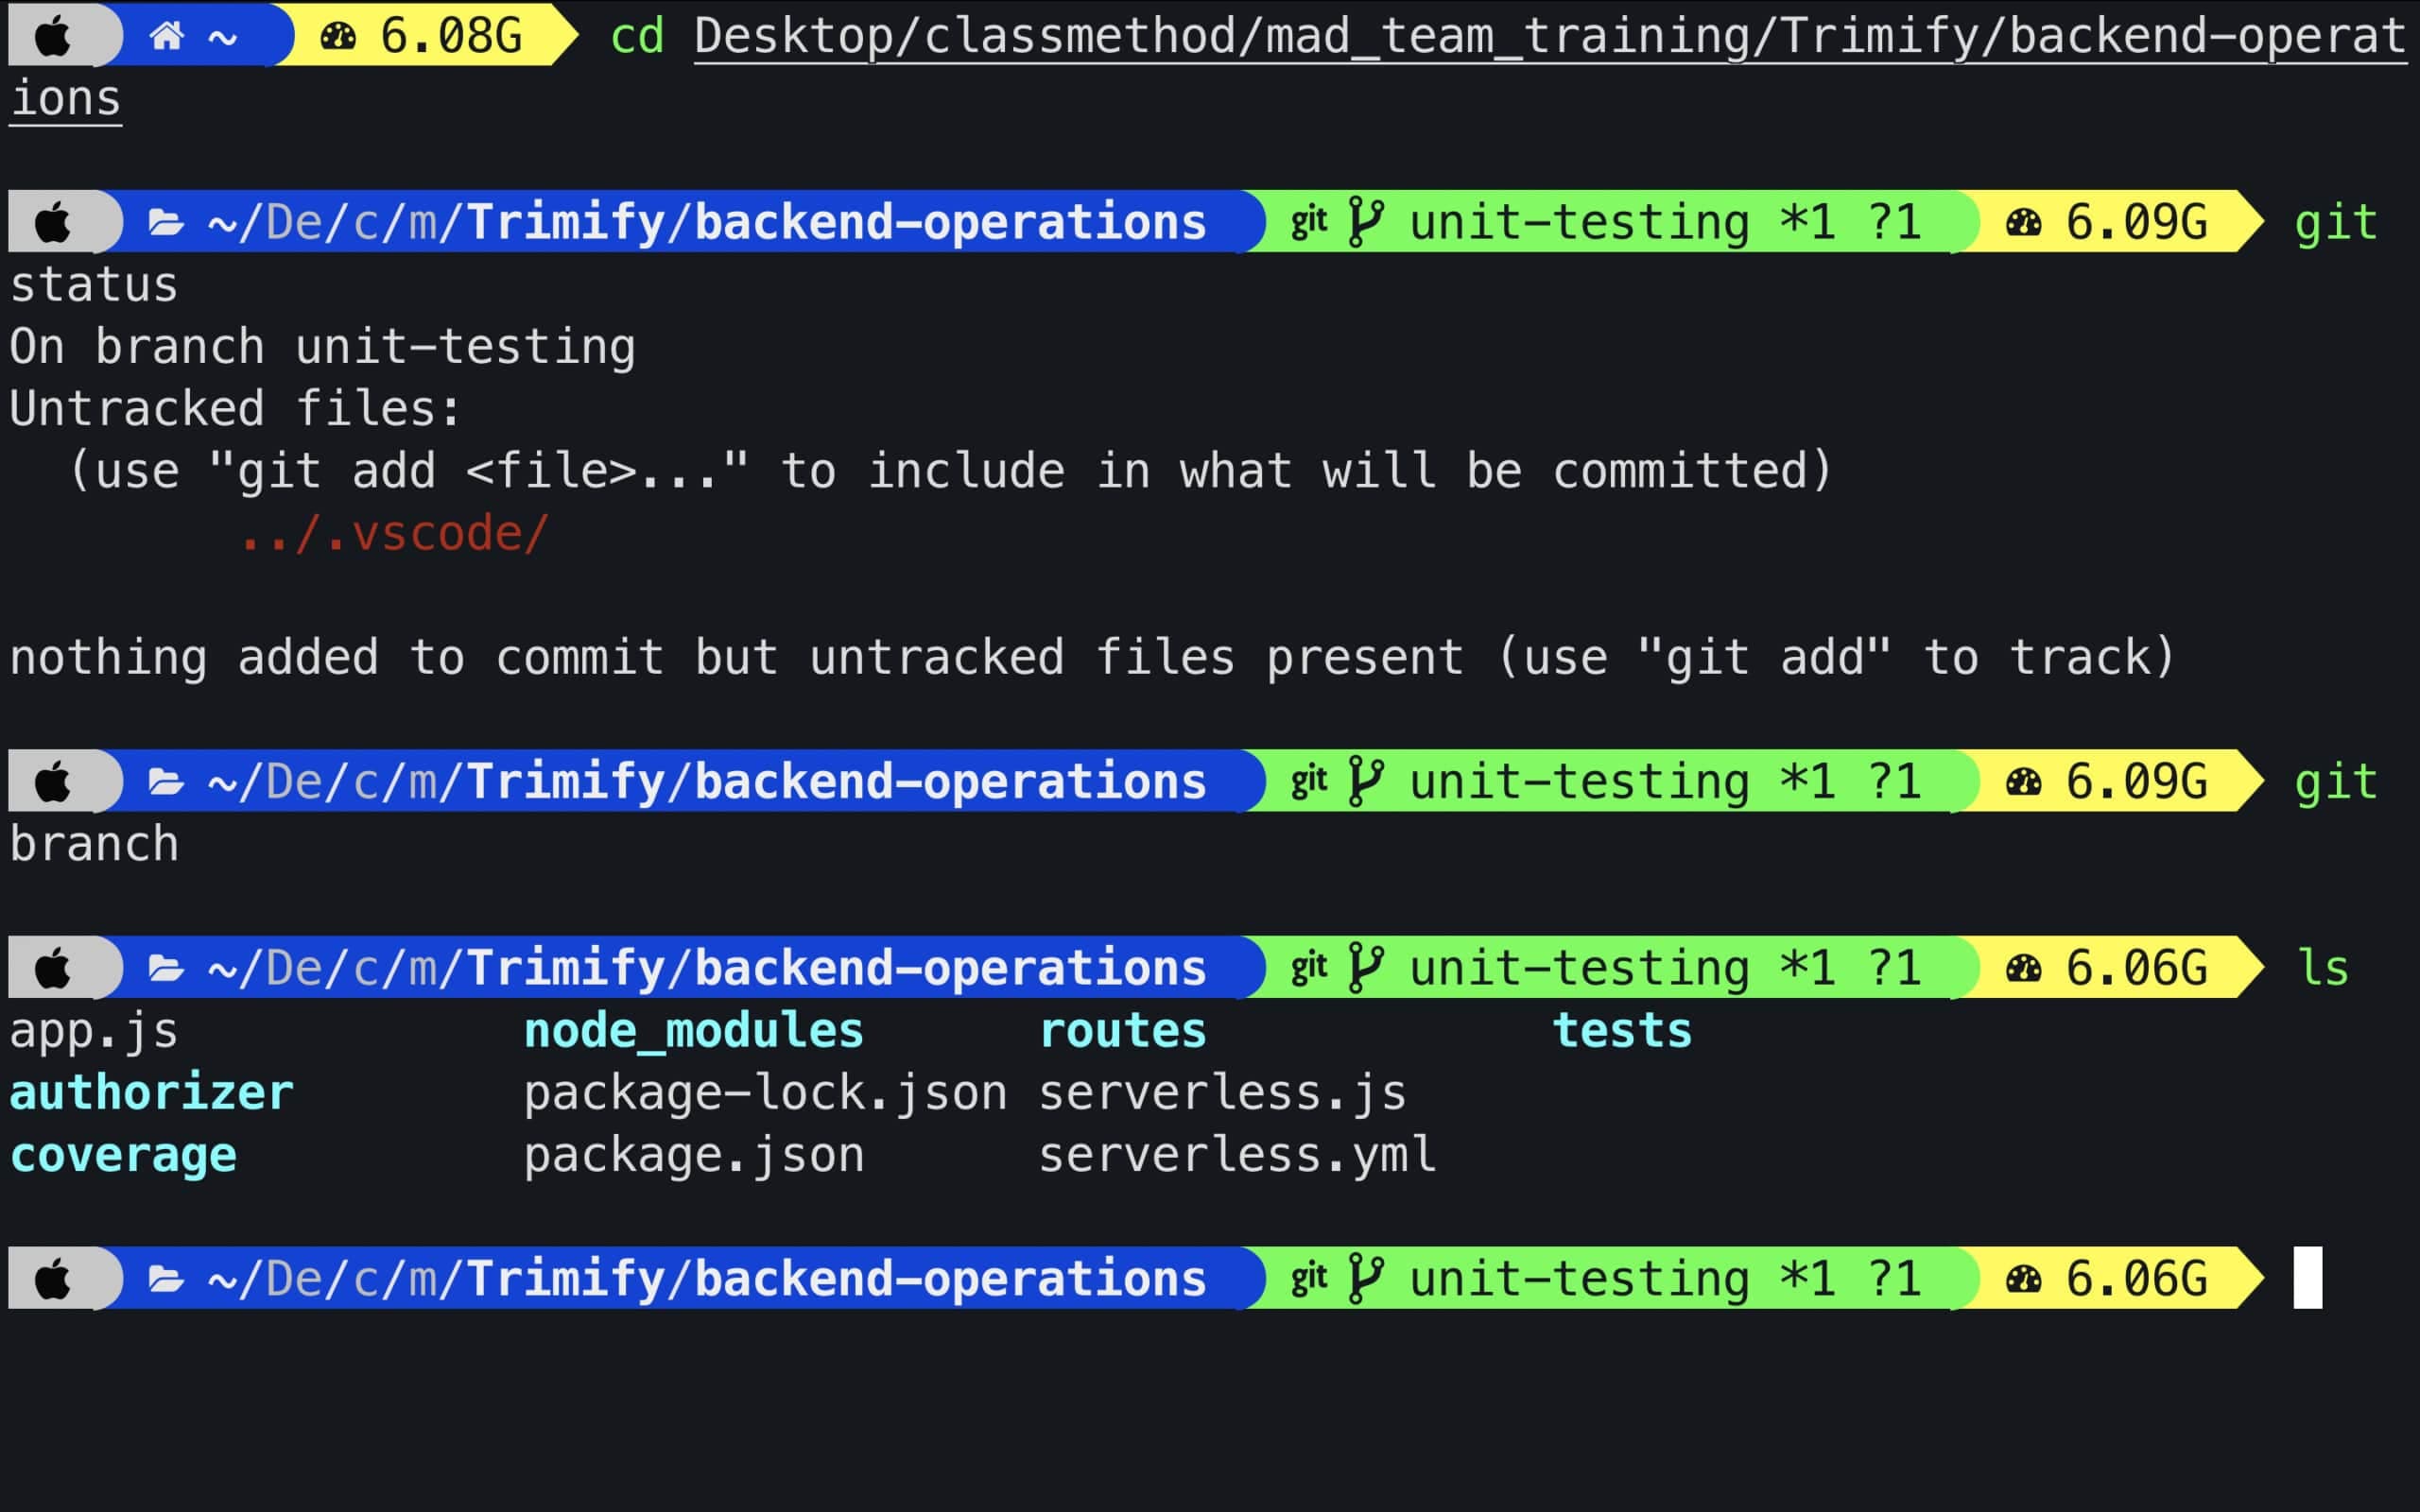
to this:
Download iTerm 2
Just navigate to iTerm2 and hit download! Or:
brew install --cask iterm2
This is optional really but iTerm2 has amazing color fidelity and great settings compared to the default MacOS terminal.
Update iTerm Color Settings
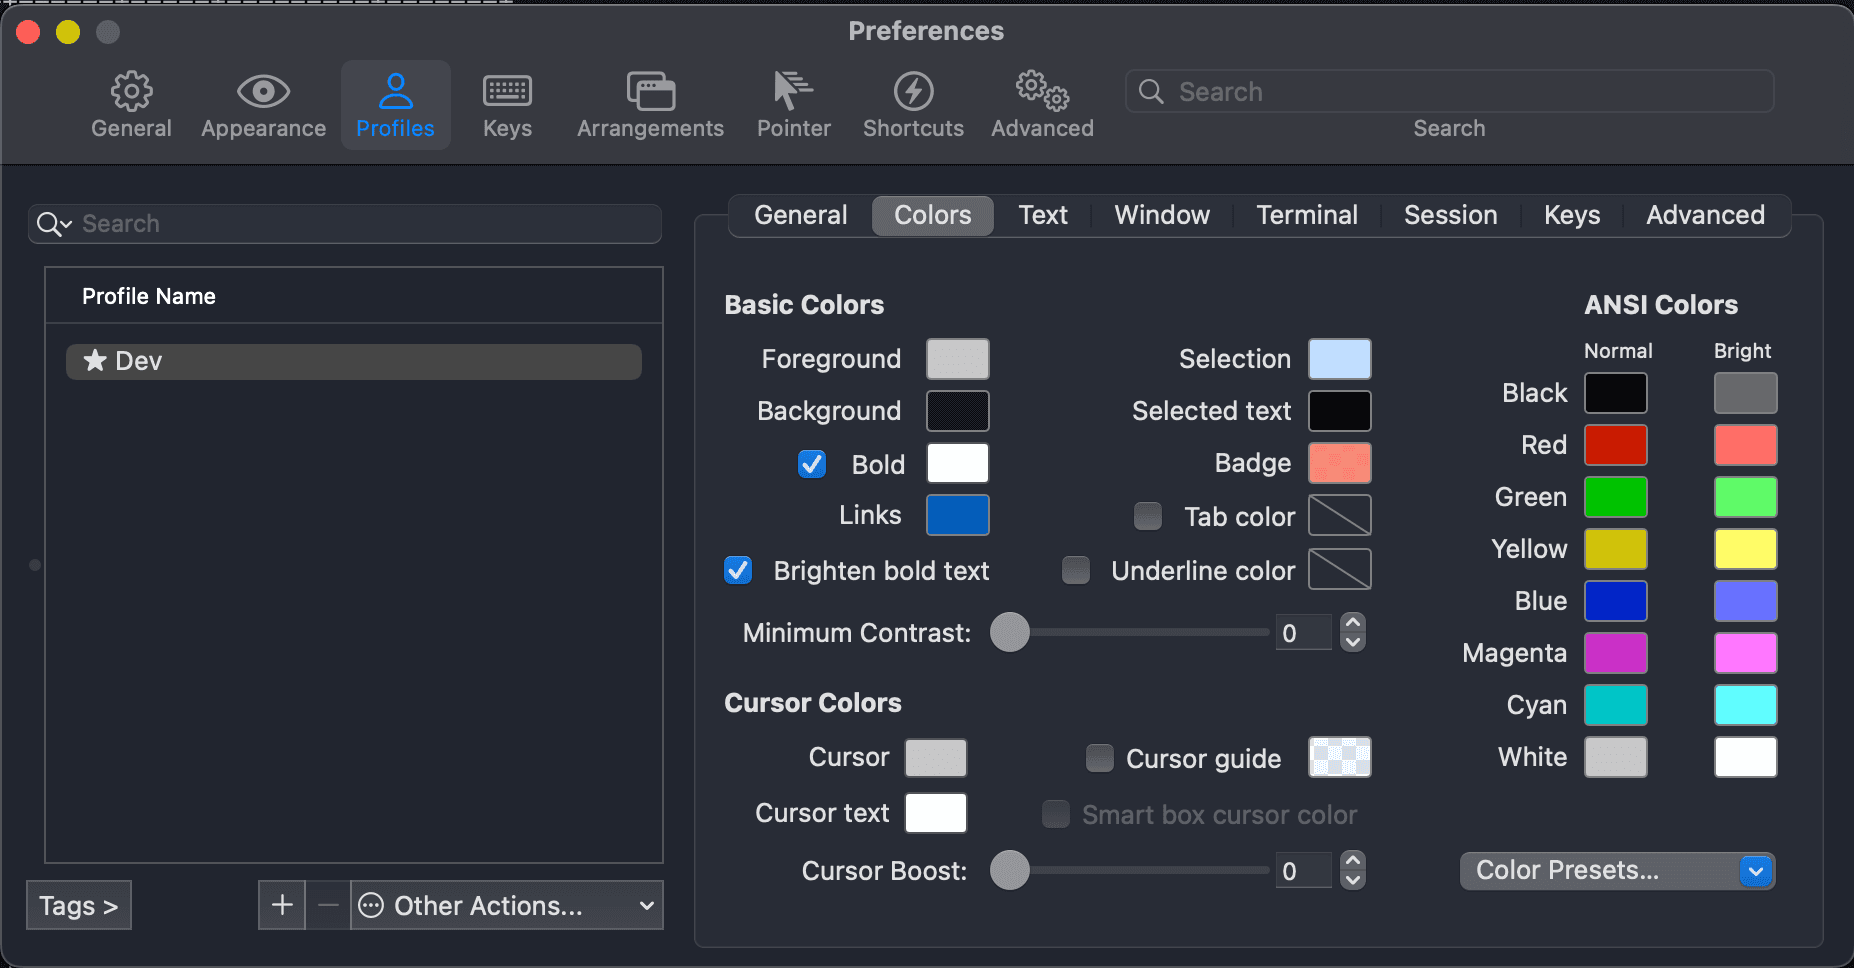
Feel free to choose a theme for iTerm - a great one is Dracula but an even better one is Solarized Dark theme. Feel free to use one of the presets, find one online, or (my personal favorite) create your own!
To install one that you found online, download the file anywhere and import to iTerm2 through Preferences → Profiles → Colors → Color Presets → Import
Install oh-my-zsh
oh-my-zsh will replace the default terminal with zsh automatically when you install. It’s a great tool that comes with a ton of plugins and themes.
Paste this into your newly-colored iTerm terminal:
sh -c "$(curl -fsSL https://raw.githubusercontent.com/robbyrussell/oh-my-zsh/master/tools/install.sh)"
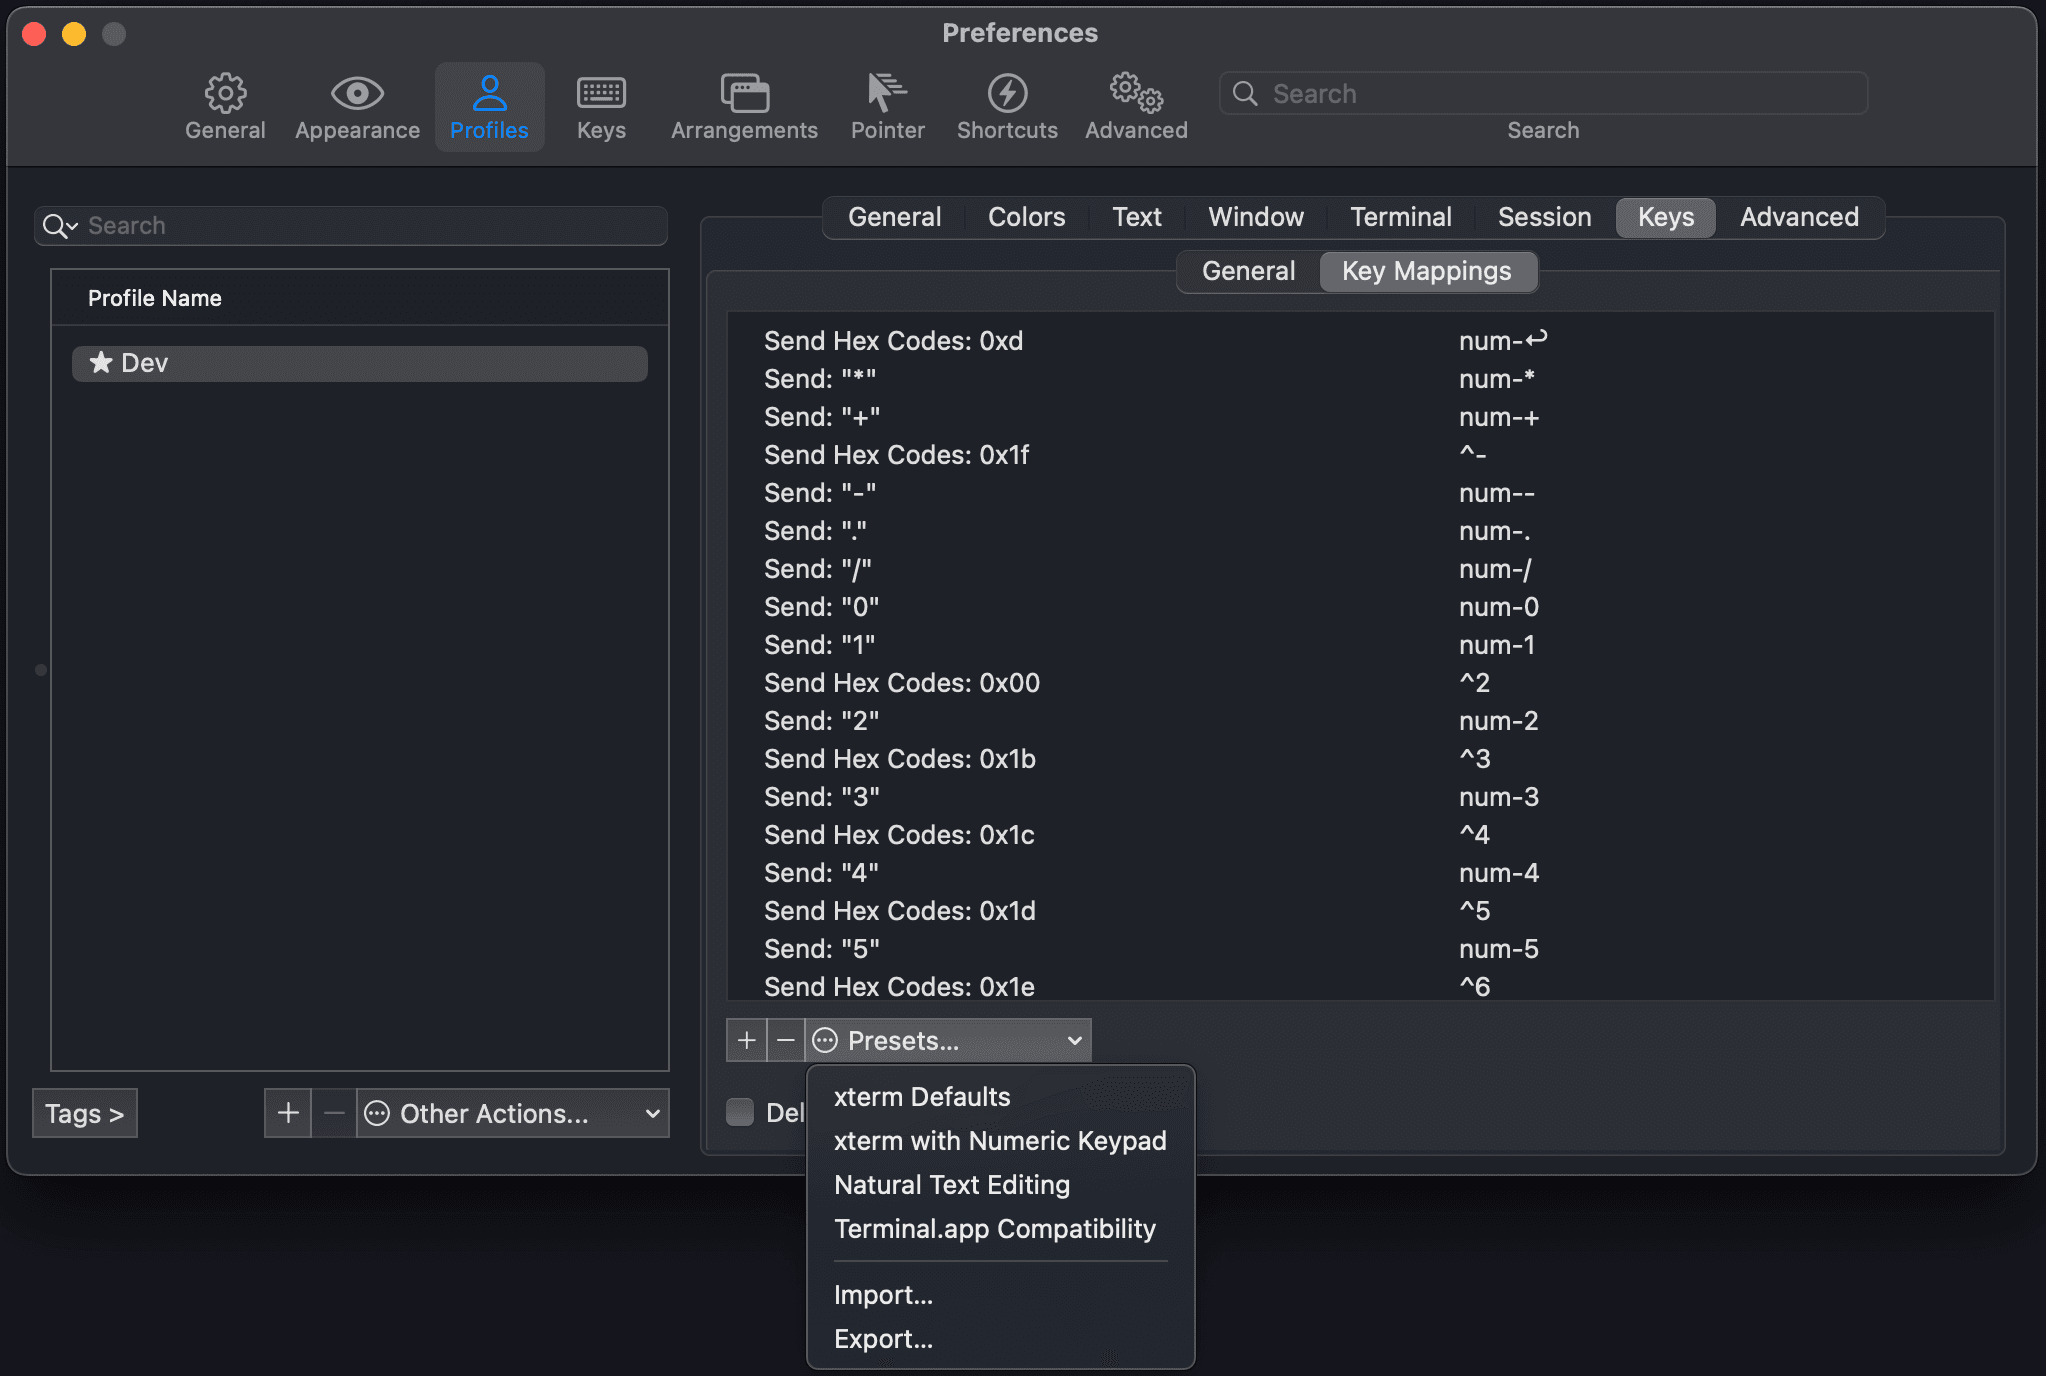
Enable Natural Text Editing
To make it a bit easier to navigate iTerm, I always like to enable Natural Text. To do this, go to iTerm → Preferences → Profiles → Keys → Key Mappings → Presets → Natural Text Editing.
Install Fonts
Download and Install Meslo and Nerd Fonts - these fonts are great for your new terminal or even for your code editor!
brew install --cask font-meslo-lg-nerd-font
brew install --cask font-hack-nerd-font
Change it on iTerm → Preferences → Profiles → Text → Change Font and select MesloLGS NF.
Install Powerlevel10k
git clone https://github.com/romkatv/powerlevel10k.git $ZSH_CUSTOM/themes/powerlevel10k
If the command above doesn’t work, make sure git is installed onto your computer. After running the above command, make sure to
sudo nano ~/.zshrc
and set ZSH_THEME="powerlevel10k/powerlevel10k"
If you’re not sure how to navigate nano or vim, you can also run code ~/.zshrc and that will open the file in VSCode 😄.
After you save, restart iTerm. You should see a super rad setup screen for your brand new terminal prompt. You can manually trigger with p10k configure if you ever need to change anything.
This will give you that really cool prompt look shown at the beginning of this article!
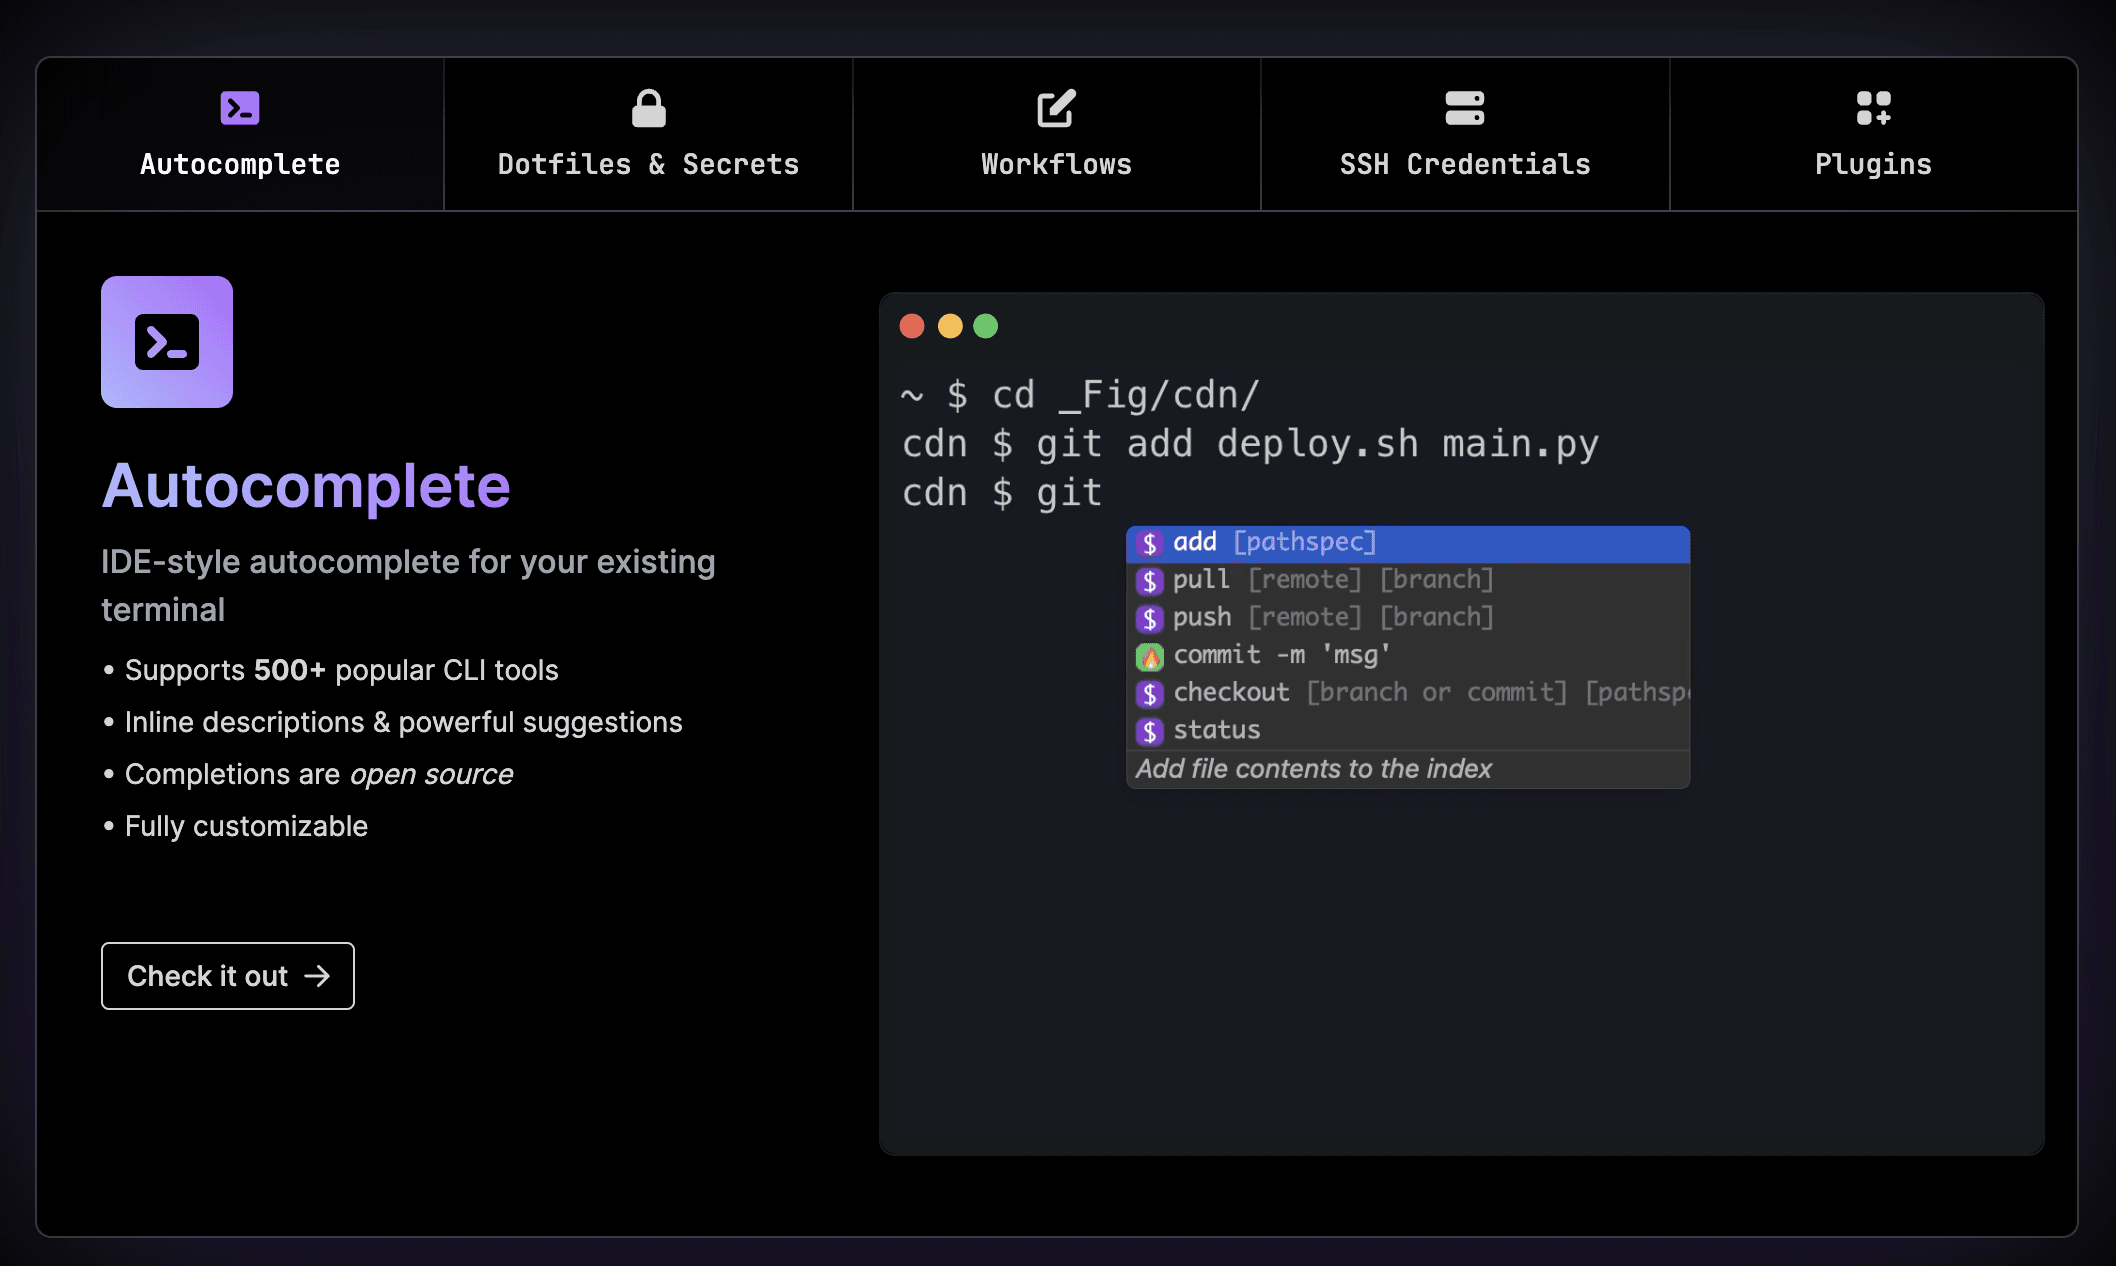
Install Fig
Finally, the last but not least step is to install Fig, either download through the website Fig.io or
brew install fig
Fig provides really amazing autocomplete for actions like git, sql, folder navigation for any terminal, including your VSCode terminal!
Update VSCode Terminal
You may need to update your VSCode terminal font if you want it to match your iTerm. Update your settings.json to:
"terminal.integrated.fontFamily": "MesloLGS NF",
"terminal.integrated.fontSize": 14